Adding Subsurface to a Character in UE4
- jongilboa
- Nov 7, 2016
- 3 min read
Unreal engine is a powerful tool for creating visually stellar characters and meshes with many tools at your disposal. The downside is that if you are unaware of these tools or ignorant in how to use said tools your models will look flat and in the case of characters, just plain awful.
Something that really adds to a character is Subsurface Scattering or SSS. This is light that passes through an object and illuminates it through the inside. In characters this is something that occurs in the hands, nose and ears. However there are other less noticeable areas as well but these are the most important. Notice that these are also the areas with the most expression in relation to human beings. These are the places we tend to go to first when checking a character for emotion, accuracy and detail, so subsurface happens to be very important.

As you can see the subsurface on the right of the model is fairly noticeable. The character on the left almost looks dead in comparison. Even though both models have full PBR, it sin't always good enough, especially not on organic models.

First changing the shading model preset to "Preintegrated Skin". This will give you access to the subsurface color, and opacity pins. This is where we will be spending most of our time.

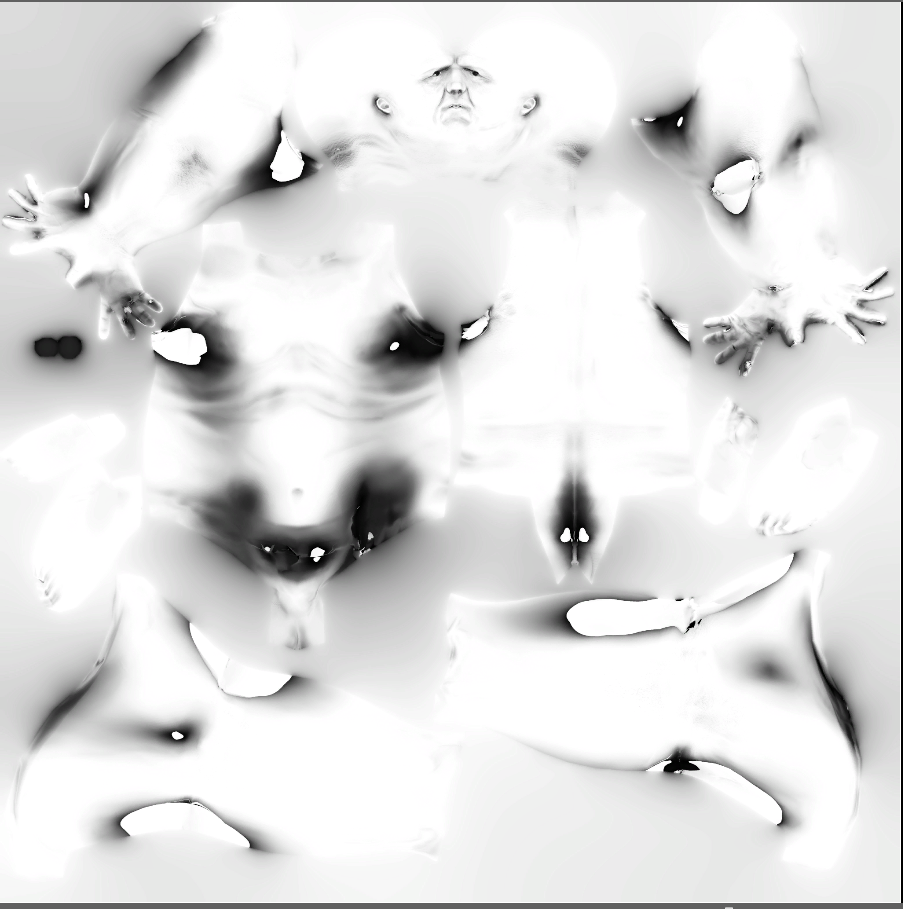
For this demo we will be using the AO map that can be baked out of Maya, Xnormals, Substance, or even handpainted. I would recommend for the future hand painting a custom SubSurface map. Make sure its black and white for maximum customization.

The first thing that we're gonna do is invert the map, this is why you can create your own if you see fit, just remember that white is where the color will show up. We invert this by pulling a one minus node out from our texture sample. Make sure to be changing your base nodes to parameters, that way, when your all finished you can plug in different textures or variables to suit your needs. Continuing, after our one minus node we're gonna plug in a series of multiply nodes, these will become our overall coverage and color for subsurface, in addition to the multiply nodes add a scalar parameter and a vector node.

You can already get a jist as to how our subsurface will affect the body.

There are still problems with this version. The SSS is way to obvious, there's no blend and no fade to taper into the base color of our model, which create some uncomfortable areas in his leg and his eyes, like he was pepper sprayed or something.
This is why we add a falloff color to taper off into the rest of the body and also create the highlight around the rim of the model surface, which is a common feature to SSS in real life. To do this, create a fresnel. After that we do a similar thing to how we finished the subsurface nodes.

Now we have to marry the subsurface and the falloff in order to preview our current structure. Very simply, just add the two branches together and plug the combination into your subsurface color pin.


So much closer but still some issues, on the good side we are blending much better, however we've brightened up the model so much his tattoo has been desaturated and faded.
For the final set of nodes we are just going to set up a couple of multiply nodes, The first node will plug directly into our add node. The second will plug into the B constant of the first multiply. plug your base color into the A, and a scalar parameter into the B. This will allow us to control the brightness and overall of the subsurface. If we make this a scalar parameter we can manipulate it as we like.

Our final result...


Comments